I don't tend to make tops. Besides the bat jumper from last year, and a wrap around shirt, I mainly stuck to easier garments like skirts and dresses.
Well, a top is not that complex, it is just the finishing touches that can take ages. I love clothes that fit nicely and dealing with sleeves, armholes and breast can be a challenge for a good finish. The other thing is making tops makes me realised how non symetrical I am. Which bring me onto the importance of spending time testing out the pattern and making a toile (pronounced "tooall").
The free Sorbetto pattern is versatile and simple enough. It can even be the start of your block library.
The pattern has two pieces, one fold and two darts. It is great for beginners and a very good base for more advanced seamstresses (male and female). It is also a great staple for simple office wear.
My outfit idea was to make this top in a bright green silk and wear it with a white or black pencil skirt. Or with linen trousers or black work trousers. The black pencil skirt is not done yet, however it is an incentive to make it eventually.
My worry with this pattern was how open the armholes are, I wasn't very keen to show too much arm and any bra in a work setting. Same for the back, was is too low?
There is only one way to tell, make the darn thing!
Once I assembled the pattern, I used an old duvet cover for the toile. After cutting the fabric, sewing the darts, creating the fold, sewing the sides and shoulders, I popped it on.
I could instantly tell on armhole was too tight, the darts were pointing down and I would have liked the top to be a fraction longer.
I made the amendments on the toile, untitched the lot and create a new pattern from the toile.
Now what I forgot when I choose a lovely piece of silk to make the top, is how incredibly fiddly silk is to work with. I thought that since it was much heavier than the last item I made, it should be fine. Sure!
Not really. Kate very kindly lent me her bias making widget after having successfully screwed up two continuous bias attempts (whilst I did meters of the stuff for the cushion covers in cotton without thinking twice). The bias maker was being fiddly too, it seemed the tape was not wide enough and each junction was a massive mess. Since the finished bias was only 7 mm I didn't have any width as a buffer. I was about to use a beige cotton instead of silk to do the bias in. I had enough! Ever hear of sewing rage?
The last attempt was helped by Mr Stich'n'Knit who softly shared that a bias of the same colour would be nicer and also helped calculate the exact bias width using a ruler, scissors and strips of paper. This was a brave move as I was on the verge of destruction. I slept over it and started with a fresher head and a new plan of attack; I decided to increase the width of each stripe to 30mm instead of the recommended 28mm and did bias the old-fashioned way: at 45° angle on a flat piece of fabric, stitching carefully all the ends manually after.

Well it, ladies and gentlemen, it worked.
The next step was to carefully pin it and stitch it on. Since I had too little room for manoeuvre, the joining up of each bias loop was done as you would link to bias together, i.e. stitching them back to back at 45°. This also means calculating the point of junction right. Silk doesn't like to be unpicked, I kept it to a minimum.
I started with the waist band, then the neck, then the armholes.
And I ended up with something pretty awful. Misshapen, ill-fitting. Such a waste of a beautiful cloth with such a simple pattern. I bundled the top and stuffed it into my magic trunk of fabric.

It took me months to face the beast again. I decided to take it afresh and start by measuring myself (again) and look back at the pattern. Two things struck me, first I cut 2 sizes too big and the printer had printed the pattern larger. Arg & doh!
I have no idea how I managed to cut two sizes up. I guess I'm not used to US sizing and took size 8 for granted without looking at the actual measurements which were all in inches. I'm a continental European girl and I'm still not used to inches and really have no benchmark for this. I can manage with feet, but not inches yet.
See below Sorbetto 2, with a Chinese fabric and no pleat. The bias was bought online and was a delight to stitch. Oh silk, why are you so difficult?
I really wanted to adjust the fit more than anything else. Nothing fancy, just proving to myself not all my sewing mojo was lost.


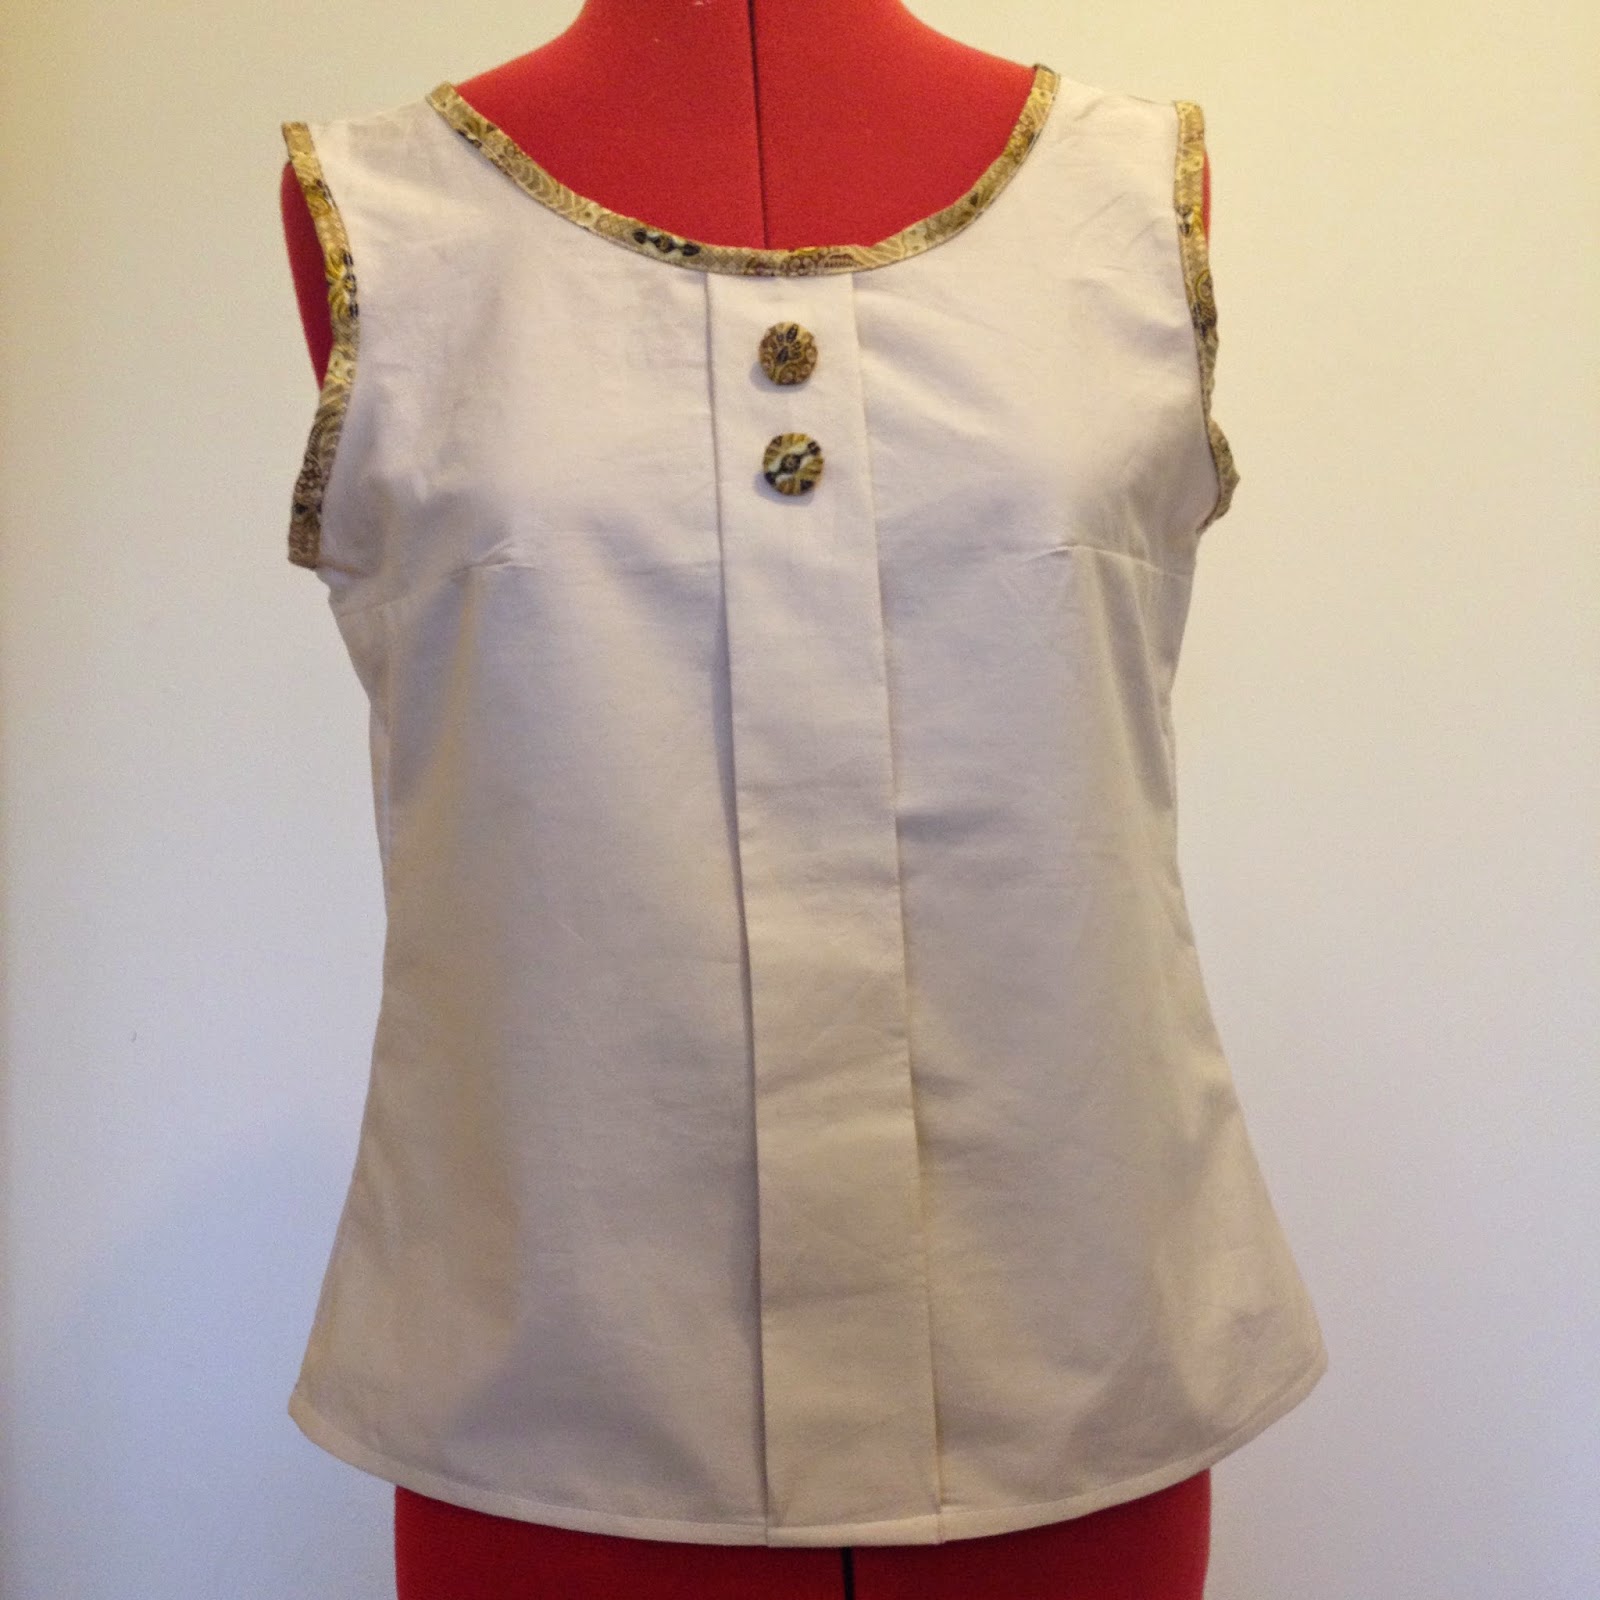
This is Sorbetto 3, much closer to the original idea of a Sorbetto with front pleat and fancy bias. It also happens to match a pencil skirt. I've yet to try them together.
The main fabric is a lovely 100% cotton poplin. A delight to work with. All side seams are French seams including the shoulders. I haven't bothered to overlock the edged, it would have been too bulky.

One could
- add sleeves (short, 3/4 or long ones),
- do a box pleat,
- have some fun with the bias using a patterned or contrasting colour,
- open the back and fasten it with a long row of covered poppers,
- add ruffles along the centre pleat,
- make a dress,
- add a claudine collar,
Do you want more? Search "Sorbetto top" online and look at the wonderful creations of fellow seamstresses.
No comments:
Post a Comment