Showing posts with label Sewing. Show all posts

10 July 2015

New home, bunting time

All the boxes are unpacked - which is a feat in itself - but no sign of the bunting! What a shame, it took me hours to make a really long string of it.
A new home needs bunting! 
Presto pronto here's a small sting made with shirting material and ...erm... some shirts very kindly donated by my dad. Sssshhhh, he doesn't know and hopefully won't recognise the material.


7 July 2015

Fabric box for Cards against Humanity

For those who do not know the very irreverent card game "Cards against Humanity", do check it out.
The rules are really easy and you can make each as twisted as you wish.
Under the Creative Commons licence, they allow users to print their cards for non-commercial use. That's pretty nifty.

This origami box was made for a great friend of mine. You should check is stuff too: http://throughwoodeneyes.tumblr.com/ 

The outer fabric is light wool and shirting on the inside.


5 July 2015

Lavender bags for the cupboards

I am blessed with a steady supply of organic lavender. Which also means I wait far too long to do something with it. To remedy this, and use up some scraps of stripy fabric, here's some hangable bags for coat hangers.

Gosh, putting together two of my favorite things.
I cannot contain my excitement !


16 April 2015

Cute and practical if you're a young parent : the burp cloth

A new batch of babies has been delivered and will keep trickling through the year. Good on you parents!

Besides prodding little ones and visiting parents, so many cute presents can be handmade!

Today, I'll present you the burp cloth. A very simple rectangle with brush cotton on one side and nice fabric on the other side. The angles are rounded for a nicer finish.

They measure 27 cm x 35 cm because I used a paper leaflet as a pattern.

They're therapeutic to make. I really liked to use a tiny shirt stitch to make them very neat.


The iron and ironing board will be your friend on this project.
Soft on the inside, sleek and the outside.
I've even managed to add a stripy fabric.


So cute to present nicely and great for mixing & matching the colours.

23 March 2015

Make-up remover pads - tutorial

I'm trying my hardest to limit our household consumption and subsequent waste. 
It doesn't feel right to use cotton wool for anything else than using antiseptic. The rest can be done with washable cloth, for instance removing cosmetic products.

There are many tutorials out there, have a look around for the one that is clearest to you. I'll attempt to show the steps I followed and used up some leftover terry towel and funky cotton fabric.

Each pad has 2 faces: terry towel & nice patterned cotton

1. Tracing circles has never been easier than finding a jar lid and a pen!
Trace as many as you wish in terry towel and cotton. 7 would be a good start, one for each day.


2. Pin both sides together, wrong side against wrong side.


3. I used the overlock stitch on my sewing machine and it did wonders. If you have no such stitch, a wide and tight zigzag will be great too.
I've chosen against using the overlocker as managing corners has never been an easy job. These pads are a series of corners, not good for most overlockers.


4. Ta daaaam. Admire your amazing work and find a pretty box to keep them.
A glass jar with a gold lid, perfect!

15 March 2015

Warmth and stripe - total awesomness

After having recently moved and unpacked most boxes, I'm realising I'm missing a few bits and bobs.

Impossible to find the leftover of pyjama elastic for instance. I'm pretty sure I had some left however I cannot face going through the whole pile of fabric to find out right now... Something tells me I should really tackle the fabric first. But since the hobby room is not set up yet, I'd have to pile it up again instead of neatly folding it.

Ok, ok, I should sort the fabric out first and part from the ones I will never touch. It is an emotional subject that I shall tackle in good time, not now (we're all master procrastinators, aren't we?).

Another thing I cannot find is my neck warmer! I used to wear it quite a lot cycling to work in winter as it was light enough to let me breathe and provided a layer against bitter winds. Where has it gone? I can picture were it was in my old place, but cannot figure out why it hasn't surfaced yet.

Whilst trying to herd my fabric into a balanced pile, I stumbled on some great stripy jersey I used some time ago in some feeble attempt at making the perfect pair of knickers.

I cut a big square of 50x50cm, and used the stretchy stitch with a jersey needle. Et voilà, a new stripy buff for next winter!


Update: The neck warmer has resurfaced! Hurray.

10 November 2014

Royal blue

A recent work trip made me visit the Lisbon airport. Since I had a few hours to kill, well, I went shopping. I found a great loose t-shirt in thin jersey. So I tried to duplicate it. My attempt to duplicate existing clothes usually turn different than the original. Well, this one was no different.

To correct a too high shoulder, I've added a turnover to the small sleeves. It fits well! Hurray.


No overlocking, just simple straight wide-stitch. Next time I'll do a pointed tab instead of rectangular.


2 November 2014

The top that will make you feel fresh (Sorbetto top)


I don't tend to make tops. Besides the bat jumper from last year, and a wrap around shirt, I mainly stuck to easier garments like skirts and dresses.
Well, a top is not that complex, it is just the finishing touches that can take ages. I love clothes that fit nicely and dealing with sleeves, armholes and breast can be a challenge for a good finish. The other thing is making tops makes me realised how non symetrical I am. Which bring me onto the importance of spending time testing out the pattern and making a toile (pronounced "tooall").

The free Sorbetto pattern is versatile and simple enough. It can even be the start of your block library.
The pattern has two pieces, one fold and two darts. It is great for beginners and a very good base for more advanced seamstresses (male and female). It is also a great staple for simple office wear.

My outfit idea was to make this top in a bright green silk and wear it with a white or black pencil skirt. Or with linen trousers or black work trousers. The black pencil skirt is not done yet, however it is an incentive to make it eventually.
My worry with this pattern was how open the armholes are, I wasn't very keen to show too much arm and any bra in a work setting. Same for the back, was is too low?
There is only one way to tell, make the darn thing!

Once I assembled the pattern, I used an old duvet cover for the toile. After cutting the fabric, sewing the darts, creating the fold, sewing the sides and shoulders, I popped it on.
I could instantly tell on armhole was too tight, the darts were pointing down and I would have liked the top to be a fraction longer.
I made the amendments on the toile, untitched the lot and create a new pattern from the toile.

Now what I forgot when I choose a lovely piece of silk to make the top, is how incredibly fiddly silk is to work with. I thought that since it was much heavier than the last item I made, it should be fine. Sure!
Not really. Kate very kindly lent me her bias making widget after having successfully screwed up two continuous bias attempts (whilst I did meters of the stuff for the cushion covers in cotton without thinking twice). The bias maker was being fiddly too, it seemed the tape was not wide enough and each junction was a massive mess. Since the finished bias was only 7 mm I didn't have any width as a buffer. I was about to use a beige cotton instead of silk to do the bias in. I had enough! Ever hear of sewing rage?

The last attempt was helped by Mr Stich'n'Knit who softly shared that a bias of the same colour would be nicer and also helped calculate the exact bias width using a ruler, scissors and strips of paper. This was a brave move as I was on the verge of destruction. I slept over it and started with a fresher head and a new plan of attack; I decided to increase the width of each stripe to 30mm instead of the recommended 28mm and did bias the old-fashioned way: at 45° angle on a flat piece of fabric, stitching carefully all the ends manually after.


Well it, ladies and gentlemen, it worked.


The next step was to carefully pin it and stitch it on. Since I had too little room for manoeuvre, the joining up of each bias loop was done as you would link to bias together, i.e. stitching them back to back at 45°. This also means calculating the point of junction right. Silk doesn't like to be unpicked, I kept it to a minimum.
I started with the waist band, then the neck, then the armholes.

And I ended up with something pretty awful. Misshapen, ill-fitting. Such a waste of a beautiful cloth with such a simple pattern. I bundled the top and stuffed it into my magic trunk of fabric.


It took me months to face the beast again. I decided to take it afresh and start by measuring myself (again) and look back at the pattern. Two things struck me, first I cut 2 sizes too big and the printer had printed the pattern larger. Arg & doh!
I have no idea how I managed to cut two sizes up. I guess I'm not used to US sizing and took size 8 for granted without looking at the actual measurements which were all in inches. I'm a continental European girl and I'm still not used to inches and really have no benchmark for this. I can manage with feet, but not inches yet.

See below Sorbetto 2, with a Chinese fabric and no pleat. The bias was bought online and was a delight to stitch. Oh silk, why are you so difficult?
I really wanted to adjust the fit more than anything else. Nothing fancy, just proving to myself not all my sewing mojo was lost.


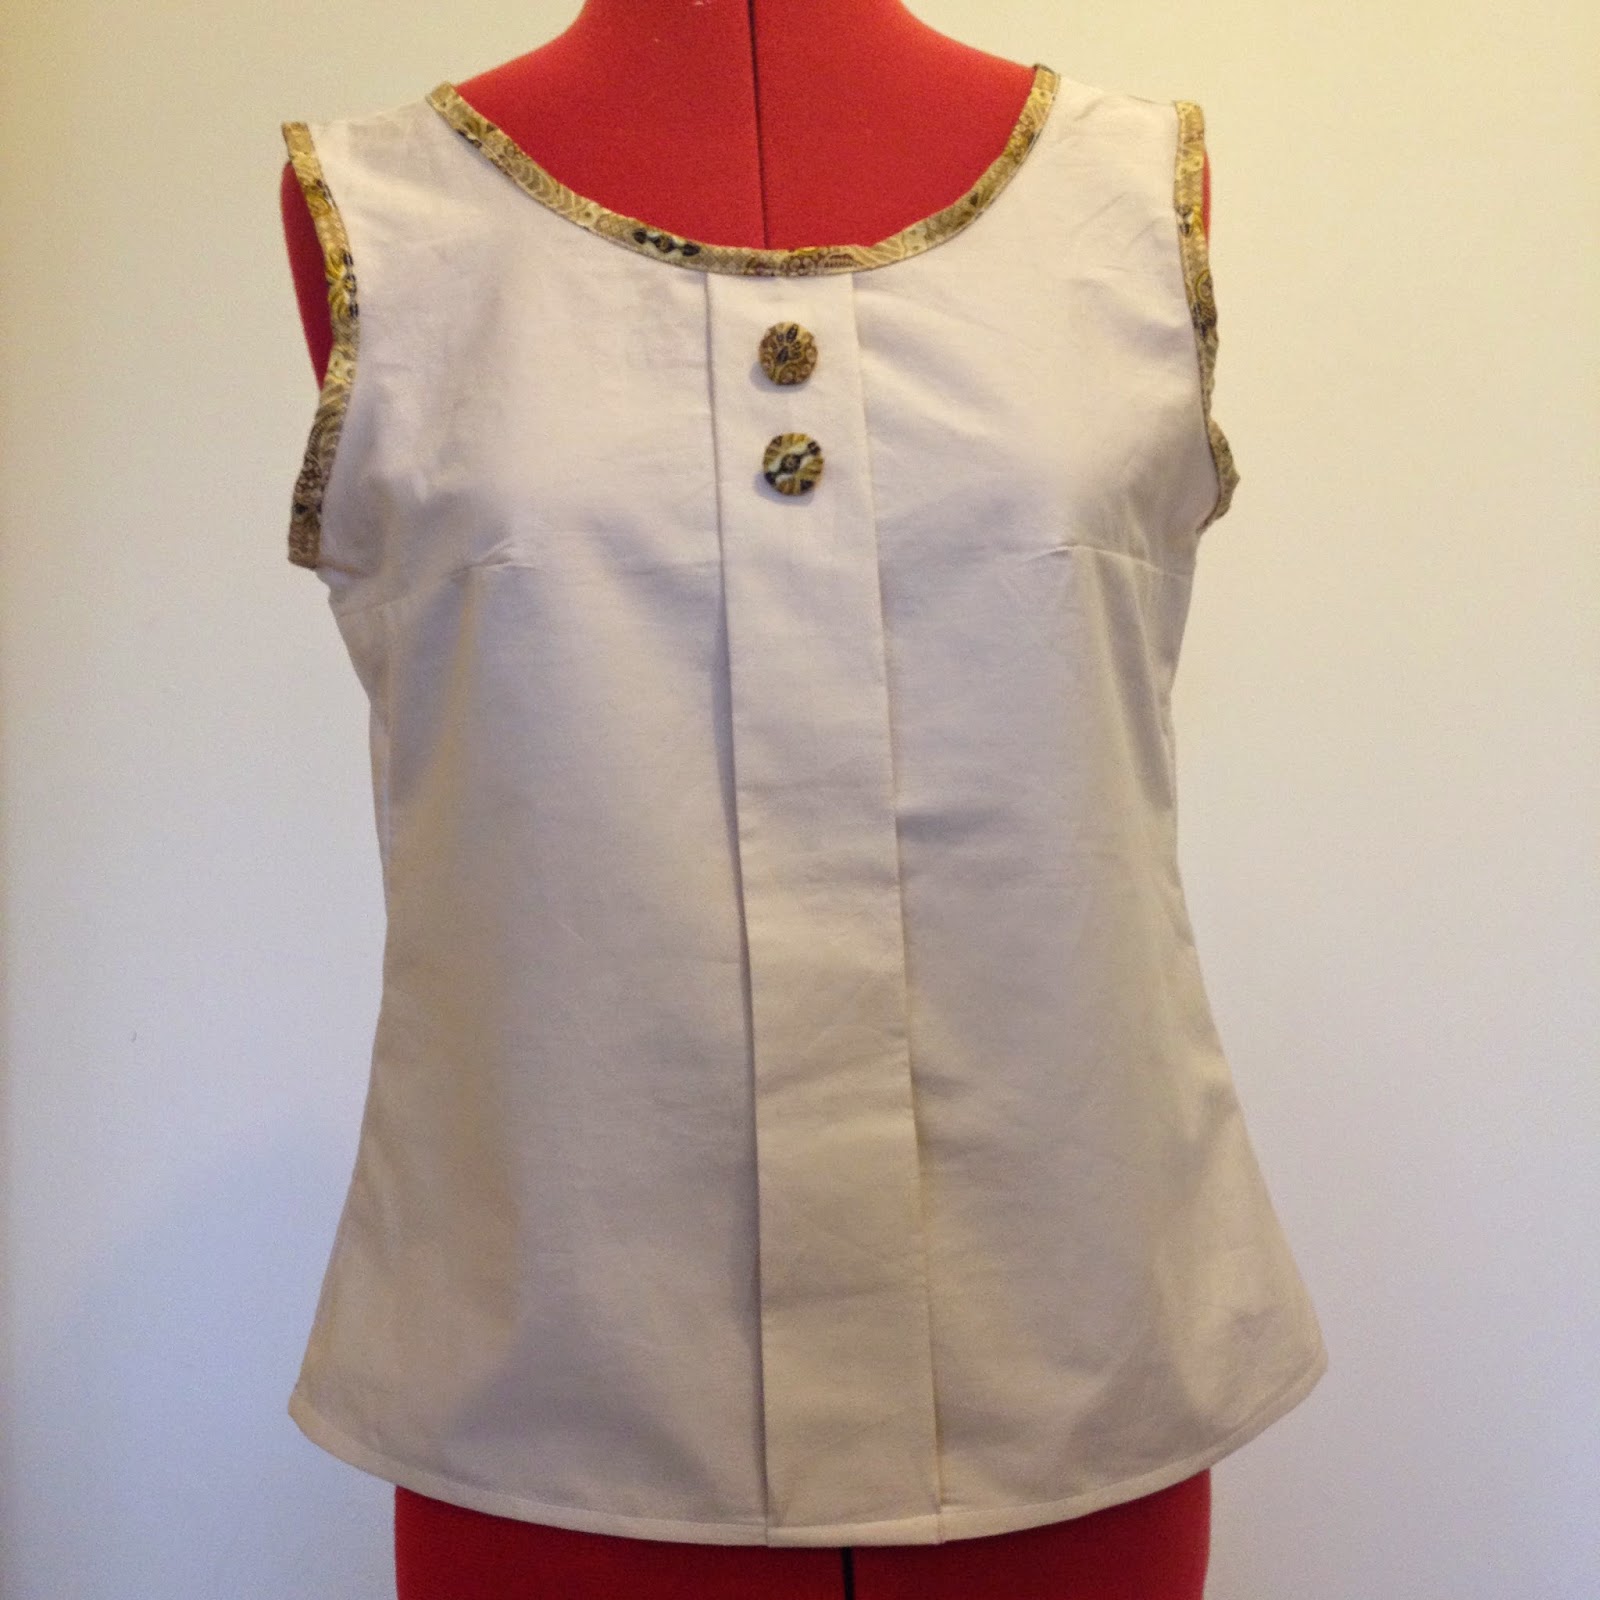
This is Sorbetto 3, much closer to the original idea of a Sorbetto with front pleat and fancy bias. It also happens to match a pencil skirt. I've yet to try them together.
The main fabric is a lovely 100% cotton poplin. A delight to work with. All side seams are French seams including the shoulders. I haven't bothered to overlock the edged, it would have been too bulky.


One could
  • add sleeves (short, 3/4 or long ones), 
  • do a box pleat, 
  • have some fun with the bias using a patterned or contrasting colour,
  • open the back and fasten it with a long row of covered poppers,
  • add ruffles along the centre pleat,
  • make a dress,
  • add a claudine collar,
Ok, ok, maybe not all at once. So many ideas!
Do you want more? Search "Sorbetto top" online and look at the wonderful creations of fellow seamstresses.

12 May 2014

Stencils for little ones

We'll be welcoming a new family member this summer. I though the parents to be might need a little help and a giggle. 
These are 3 bodies with stenciled writings. 


One might need a reminder of which way is up during ungodly hours.


That is for the giggle part.


Yes, there is on "Out" at the back, much lower down.


20 April 2014

Bloomers - take 2 with flowers

And there was a take 2 on bloomers using the Colette pattern !
This time with a light (ahem) flowery 100% cotton.

The fit was altered as well with a waist 4cm lower. Well...This is still not perfect, I'll need to raise the back by 2 cm and leave the front like that. 


The bloomers were packaged nicely and sent as a birthday present. Actually, the bloomers made their own way in the lingerie bag.  


10 March 2014

Does my bottom look big in these? Colette Madeleine Bloomers

I temporarily gave up on corduroy trousers. I was chuffed with the material, I increased the crotch allowance and I even added pockets. It all seemed to work so well. Then I stalled on the zip. They're a faff to stitch. And since, I haven't really touched them.

Once upon a while I would have finished the damn project without allowing me to start a new one.
You know what? In the era of instant gratification and reduced attention span, I jumped to another project. Life is just too short.

I perused some time ago the Colette website, which has lovely patterns. A few of them are also free, including the Madeleine Bloomers. Kelly had already made hers, and they look adorable, albeit very low-waisted.

My derrière is fuller than Kelly's (not that I looked hers up, ahem) and I thought measuring well beforehand and making a toile would avoid any mishap. The measurement taught me there was a good 10cm/4 "difference between my ideal crotch length and the pattern. The toile taught me my modesty wouldn't be protected when bending over if I were to follow the original pattern.

So I went for it and added 8cm/3 1/4" to the belt.


Now, now, I didn't use any old scrap paper I had to heighten the belt. If you look closely you can see stock prices. Ahhh, good old Financial Time. Maybe the only broadsheet to use a salmon paper.


The result is cute. The fabric is a black lightweight cotton with little white flowers. I had fun with the bows.
I didn't follow the pattern with regards to the button holes on the legs. Once I threaded the elastic, I made a box split and stitched the bows on it.


The elastic bit is the most tedious part. They are 4 rows of it and between stitching the rows, one has to ensure the opening are still there (oops) and then thread it. It took longer than I wished for. Plus this fabric is really dark so spotting the openings was tricky. I initially put pins but they fell off.

I burnt the edges of the loose strands of the nots to stop fraying. And I used a chopstick to use as a stand and make the nots on before stitching them by hand. I made all three at the same time to make them the same size.

The only thing I'd like to say is that adding the surplus for the waist means that, whilst my modesty is protected, it is not the most flattering for my behind. Maybe I should have tried the size below and only added 6 cm to the waist height.

You know what this means? There needs to be a take 2!

26 February 2014

It that a blue cucumber in your shoes, or are you happy to see me? (Tutorial)

Have you ever had a pair of sport shoes you loved so much, but was also smelly?

Well, if you're a runner, climber, rower...it is likely you wear the same pair of shoes over and over again. Sure, you can chuck them in the washing machine, however it won't take long before they start smelling again. And their life span might be greatly shortened.

I'm a climber and my comfy(-er) pair of shoes have a very unique smell... It seems only to my standard though.
Yes, we had a sniff test with other climbers and I'm happy to say mine are at the bottom of the smelly ladder. Which to a climber only means one thing: I'm need to climb more!

I spotted a climber with bananas in his shoes. Honestly, bright yellow scented bananas.
What a brilliant idea! I immediately though about some particularly unsightly fabric I bought some time ago that I could use. I'm not quite sure what I was thinking that day.

The content of these shoes inserts is simple enough:
  • Bicarb Soda
  • Lavander
  • Tea Tree oil
All ingredients are easy to find. Wilkinsons seems to be the cheapest for bicarb soda. Just buy this one and not the cooking one.

You'll also need about 50x50cm of fabric to make the shoe inserts and the tape to pair them together.
They're a bit like gloves, if they're not tied together, one could go walkie.

Tutorial

The shoe inserts are made of 6 panels of fabric stitched together. They're united by a length of tape to stay together. They can also be clipped on a carabiner and kept with the rest of your equipment.
 
1. Measure the shoe length and diameter at its widest. Take a bit out for each measurement and divide the diameter by 6.  Draw a diamond shape on a bit of paper: Trace a long horizontal line (length), at its middle trace a smaller perpendicular line (diameter / 6). Join the points and draw flat endings. Your pattern is done!


2. Cut 12 pieces of material following the template. 6 per shoe. I folded my material multiple times to cut 6 pieces at a time. Accuracy is not paramount with this pattern.


3. Using the wrong side of the fabric, pin all the sides together.


Many, many pins.

4. Stitch all the sides together (6 pieces by 6 pieces).

5. Stitch close one end of the tube and turn inside out.

6. Cut a strip of fabric (4cm x 25 cm), fold the side length-way, then fold again in two. Iron flat, then stitch length-way.

7. Take a scrap of fabric (6cm x 6cm), soak it in Tea Tree oil and cut it in tiny bits

8. In a pot, mix together 200g of bicarb soda, 100g of lavender flowers, and the bits of soaked fabric.


9. Take a funnel and pour the mix until you fill 3/4 of the shoe.
 
10.  Insert the end of the tape, stitch the shoe insert closed.


Your first shoe insert is ready. Repeat the steps to make the second one.
If you have some mix left-over, you can use it up in scented bags.

Now it is your turn, let me know what oblong shapes and colours you come up with!